Diy Get Well Soon Card Easy Step by Step Black Marker
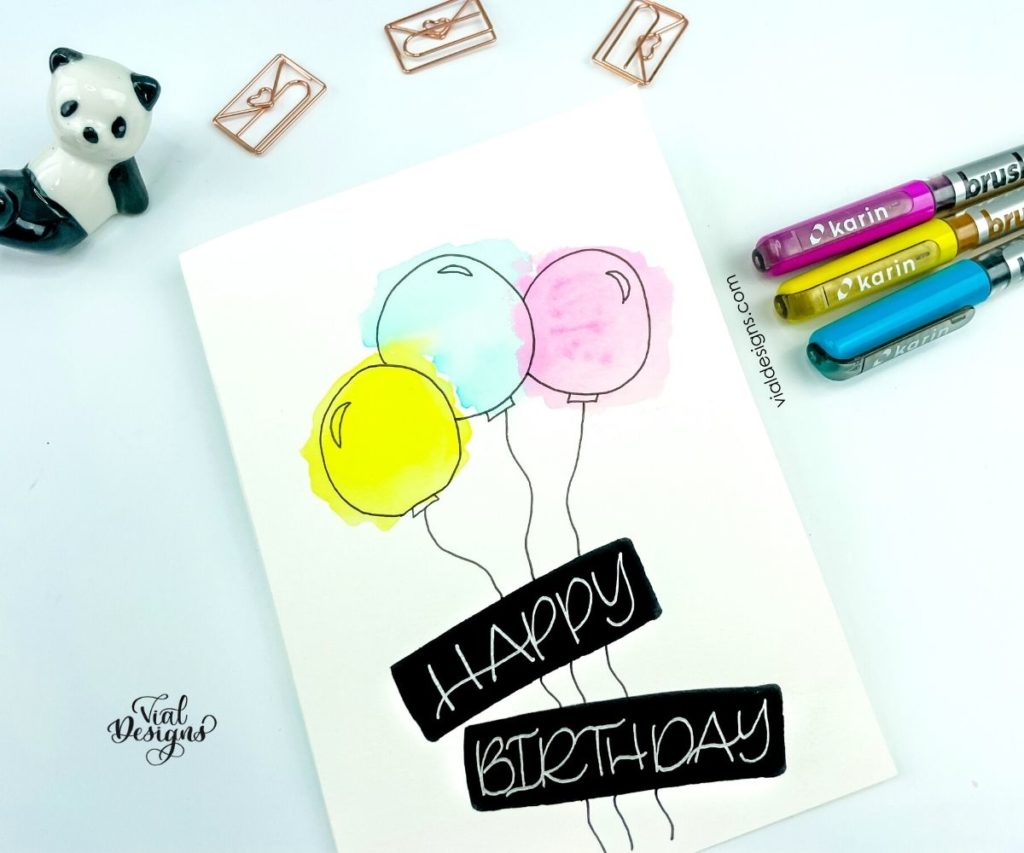
Learn how to make a beautiful and easy DIY Lettering birthday card with this step-by-step tutorial! Plus get access to a FREE block lettering birthday worksheet.
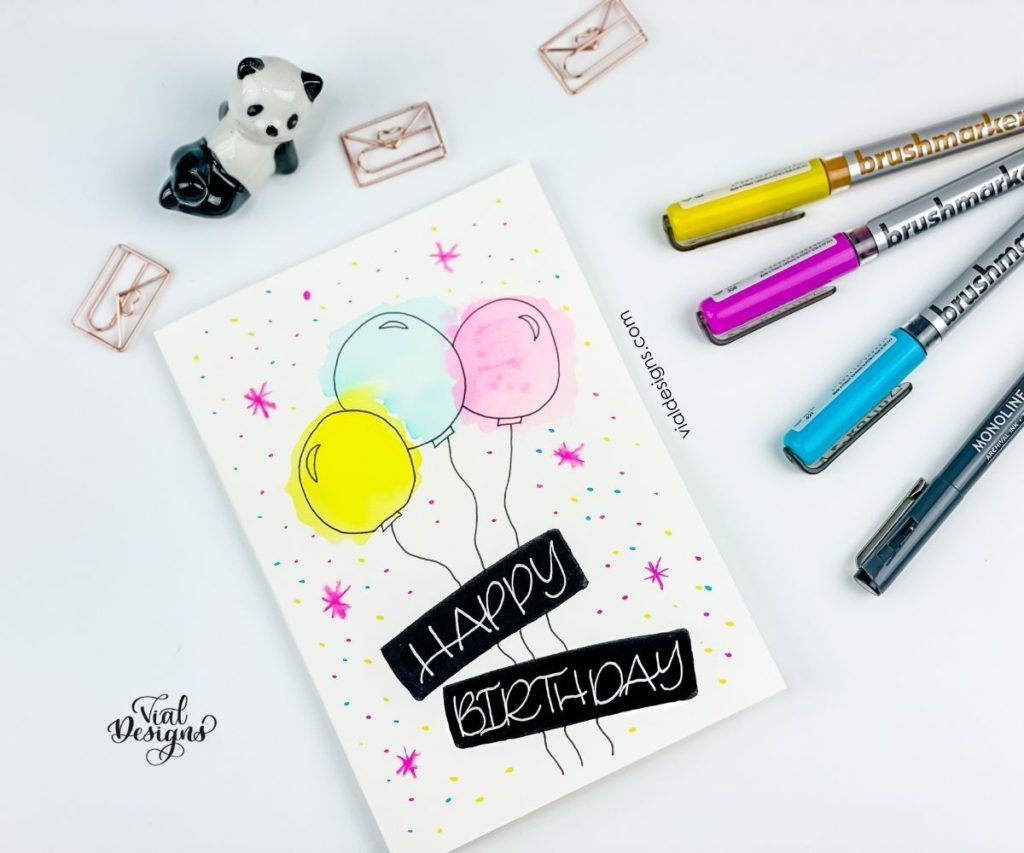
DIY HAND LETTERING BIRTHDAY CARD STEP BY STEP TUTORIAL
See exactlyhow to make an Easy DIY Hand lettering birthday card in mytutorial video (or keep scrolling if you prefer a step-by-step photo tutorial):
MATERIALS TO MAKE THIS HAND-LETTERED BIRTHDAY CARD
- Karin Brush Markers Pro OR any water-based markers
- Arteza Waterbrush OR a regular brush and water
- Canson Mixed Media Paper OR a paper thick enough to hold watercolor
- The Pigeon Letters Monoline Pens
- CraftSmart Oil Paint Pen – Silver. You can also use a white gel pen or white paint pen
- OPTIONAL: My FREE Happy Birthday Lettering worksheet you can use to practice. Grab it by filling out the form at the end of this blog post.
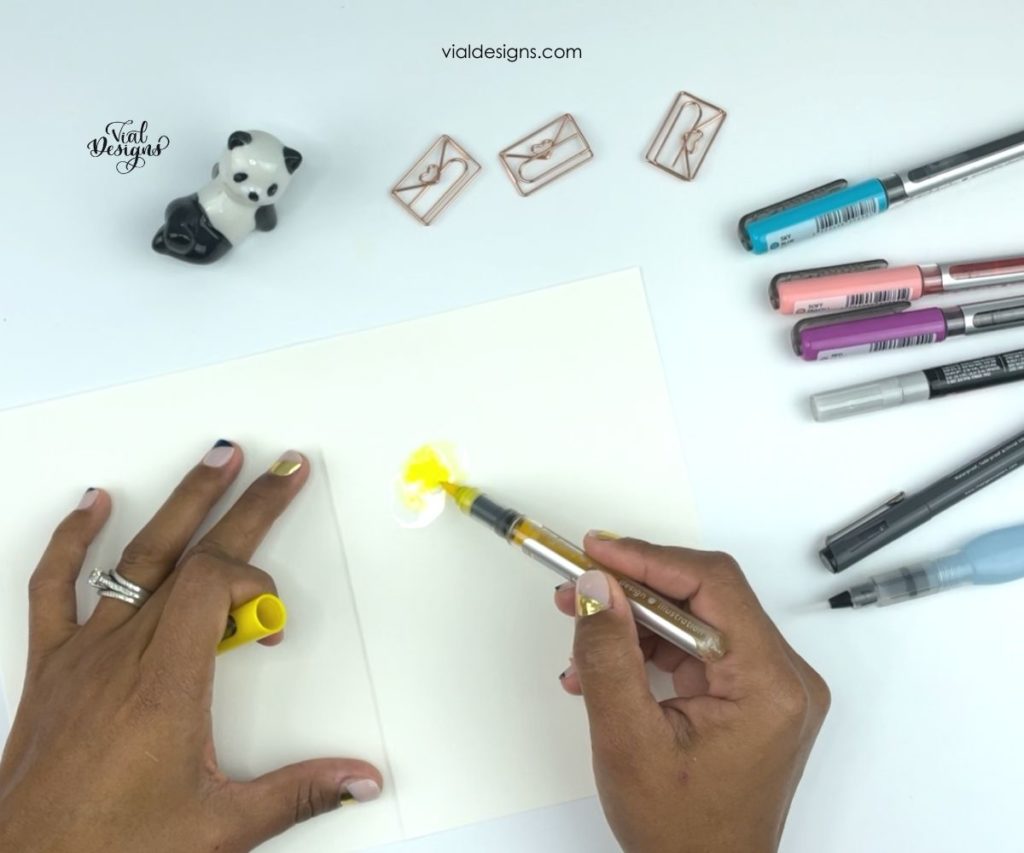
STEP 1: Create a watercolor background with your water brush and markers
I unfolded the card to start drawing on it because I find that it's easier for me to work like that.
First, use your water brush and we're going to squeeze it a little bit so we can get some of the water out and we're going to paint with the water and I'm doing a sort of like a circle shape.
If you don't have a water brush, simply use a brush and dip it in water.
Then, grab one of the water-based markers and dab it and to the parts where you painted with the water. This is how we're going to create the watercolor effect with the markers and the water brush.
If you see that the color is not vibrant enough, just grab your pen and just go over it again.
Use a scrap piece of paper to clean the water brush so it doesn't get into the next watercolor background.
Optional: use a heat gun to speed up the drying process. Another thing you can do to speed up the drying process is to grab a rag and dab it to remove the excess water.
Repeat the steps above with the markers you want for the watercolor background. I'm doing three different colors because I'll be doodling balloons over them in the next steps.
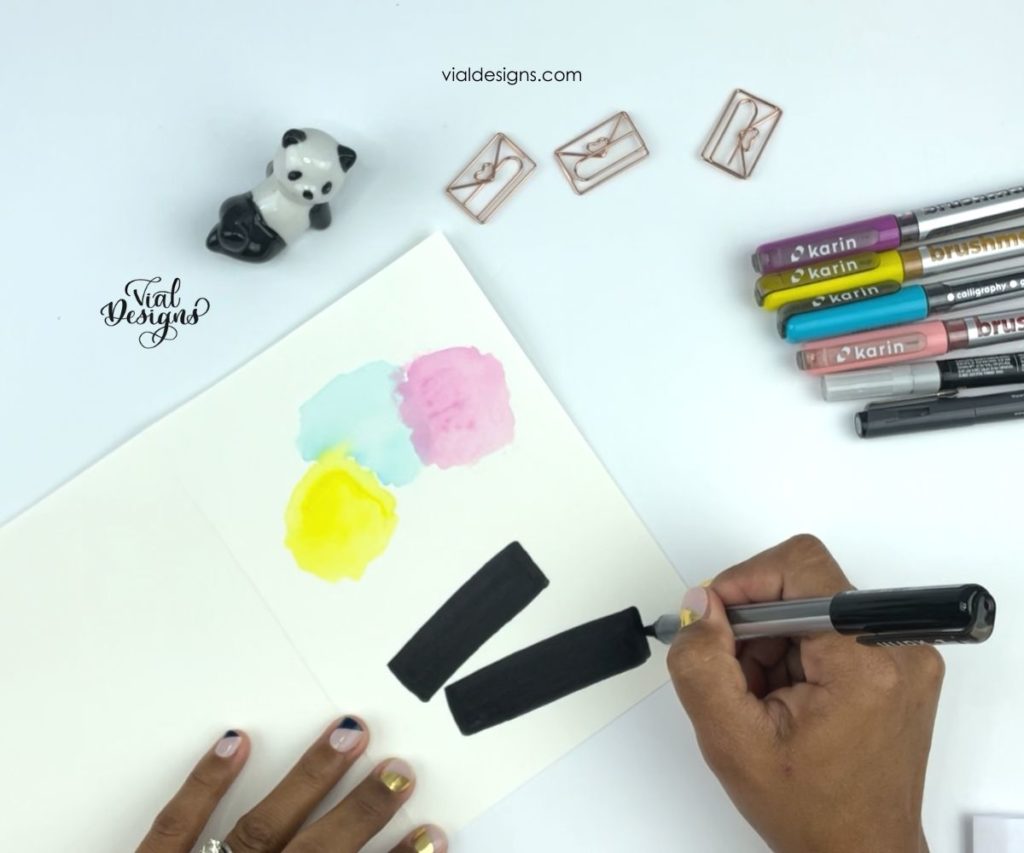
Step 2: Create the base for your lettering message
Draw rectangles using a black marker and color them inside. This is where our happy birthday lettering is going to be.
Make sure the rectangles are big enough for the lettering to fit in. And if you want to add a longer message, then you can also draw more rectangles as well.
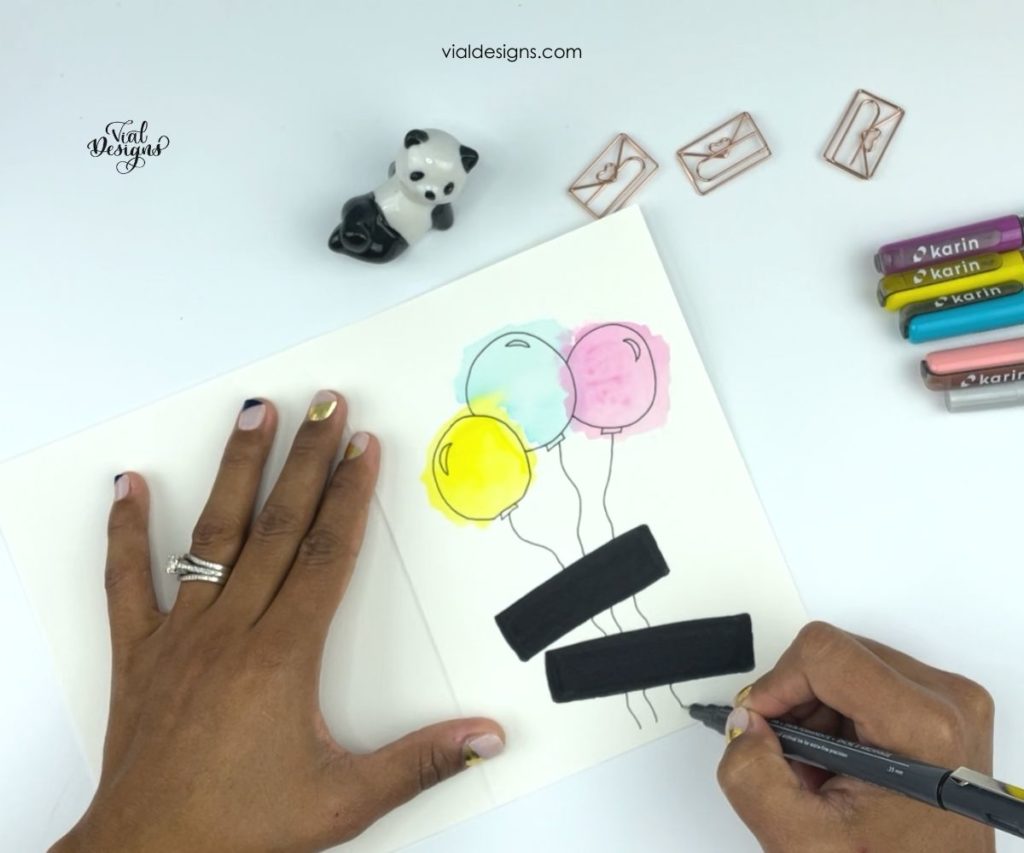
Step 3: draw balloons over the watercolor background you created on the previous steps.
Now that the watercolor background is completely dry. I'm going to be using the Pigeon Letters Mono-line pen 03 to doodle some balloons.
Step 4: Letter Happy Birthday or message of your choosing.
Now it's time to write Happy Birthday!
Using your best lettering, write Happy birthday inside the black rectangles that we drew previously. I'm using this craftsmart extra-fine oil paint marker, but you can use any white gel pen or marker that'll stand out against the back rectangles.
If you like this style of block lettering. And want to practice it, I made a block lettering worksheet for you. Fill out the form at the end of this blog post to grab it for FREE!
OPTIONAL: add embelishments to the card
You can leave the card as is or add some embellishments to the card to make them pop!
I'm doing these stars and dots around the card.
I love how simple this car is to make how beautiful it turns out. Let me know in the comments, what you think?
Also, let me know what other DIY lettering, calligraphy, card tutorials you would like to see here.
Happy card-making!
WANT TO REMEMBER THIS FOR LATER? SAVE THIS "DIY BIRTHDAY LETTERING CARD" TO YOUR FAVORITE PINTEREST BOARD!
GRAB THE FREE HAPPY BIRTHDAY HAND LETTERING WORKSHEET BY FILLING OUT THE FORM BELOW:
Source: https://www.vialdesigns.com/diy-lettering-birthday-card/
0 Response to "Diy Get Well Soon Card Easy Step by Step Black Marker"
Post a Comment